Adding Images To Your Gallery For Marketing Campaigns

Why You Need An Image Gallery
To Go Back To Platform User Guide, CLICK HERE
Your image gallery contains all images, such as logo variations, images and photographs, which will be used in your various marketing campaigns. They are accessible to marketing service providers when invited to quote and do the required work, for the marketing campaign.
All images should either be in the public domain already, or if you're adding new images, then they will become available in the public domain, when marketing campaigns are deployed.
Images should be of the highest quality / resolution, but reduced in size. There is a great FREE service called TinyPng to shrink both JPG and PNG images. To learn more, CLICK HERE.
Image Use & Guidelines
Each marketing campaign type has different image detail requirements.
For example: If the campaign is for a print type (flyers, door hangers, post cards etc.) the appropriate image(s) can be downloaded by the Local Service Heroes member providing marketing services, for use in their work, to deploy the campaign.
They have access to all shared cost marketing campaign's image galleries AND the Offer Profiles of those members participating in that campaign, to get the job done fast.
Since all campaigns are based on pre-set templates (with specific and exact requirements) to create and deploy, there's no need to go back and forth for administrative details. Service provider members have access to everything they need, from all participants.
If the promotion is digital and is used in any kind of online media, then other details are required. By properly uploading all your images, you'll cover off all potential use cases.
Note: You only need to populate your Image Gallery once, and unless you add or change images, you'll be able to deploy dozens (if not hundreds) of marketing campaigns, without ever having to think about logos or images.
Ideally, the images should be .svg, .png files and not .jpg.
Note: For logo variations, it's best to upload as many as you have - including any vector files (.svg)that can be manipulated by the designer to ensure a perfect layout.
You can upload up to 100 images. The more you have, the more the marketing services partner has to work with.
Add team shots, action shots, and images that portray your company as being the quality professionals that you are.
Do NOT upload any "stock" images. They always appear "fake" and staged, and will hurt your brand.
Tip: Include real human images of you and your team - SMILING. Real smiling humans, statistically increase trust and conversion by 25%.
Naming & Uploading Your Images
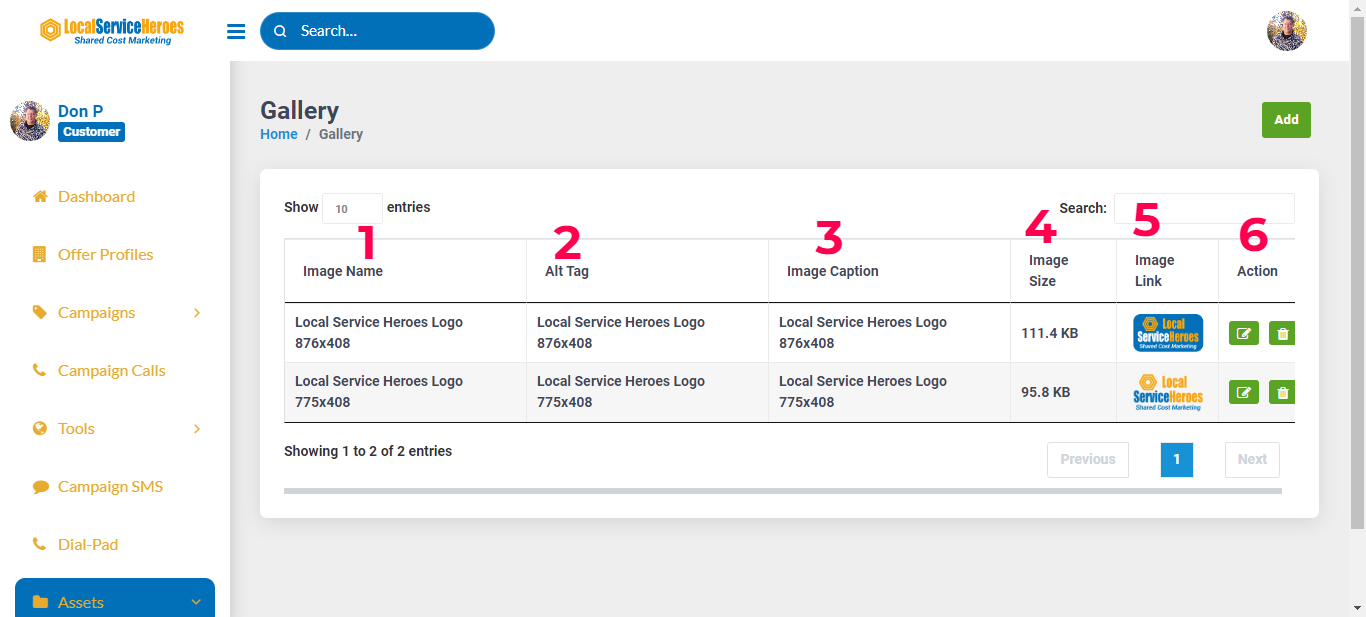
- Give your image a name that actually describes what it is, so you can easily find it later.
For Example: "Team shot at (name job site) installing windows". If you're uploading logos, include the size for the marketing service provider members. - For digital marketing campaigns the "Alt Tag" is important. In most cases it can be the same as the image name.
- Depending on the campaign, a caption will accompany the image. It can be the same as the image name, but keep in mind that it may be visible with the image.
- For digital campaigns, it's important to know the image file size, because it (not the image dimensions) greatly impacts page load speed. Which is why all images should be compressed before uploading.
- The image link is used in two instances. First, the marketing service provider member can easily download the image for use in preparing the quote for a print campaign. Second, in digital campaigns.
- You can edit the image name or tag, or you may decide to delete that image altogether.
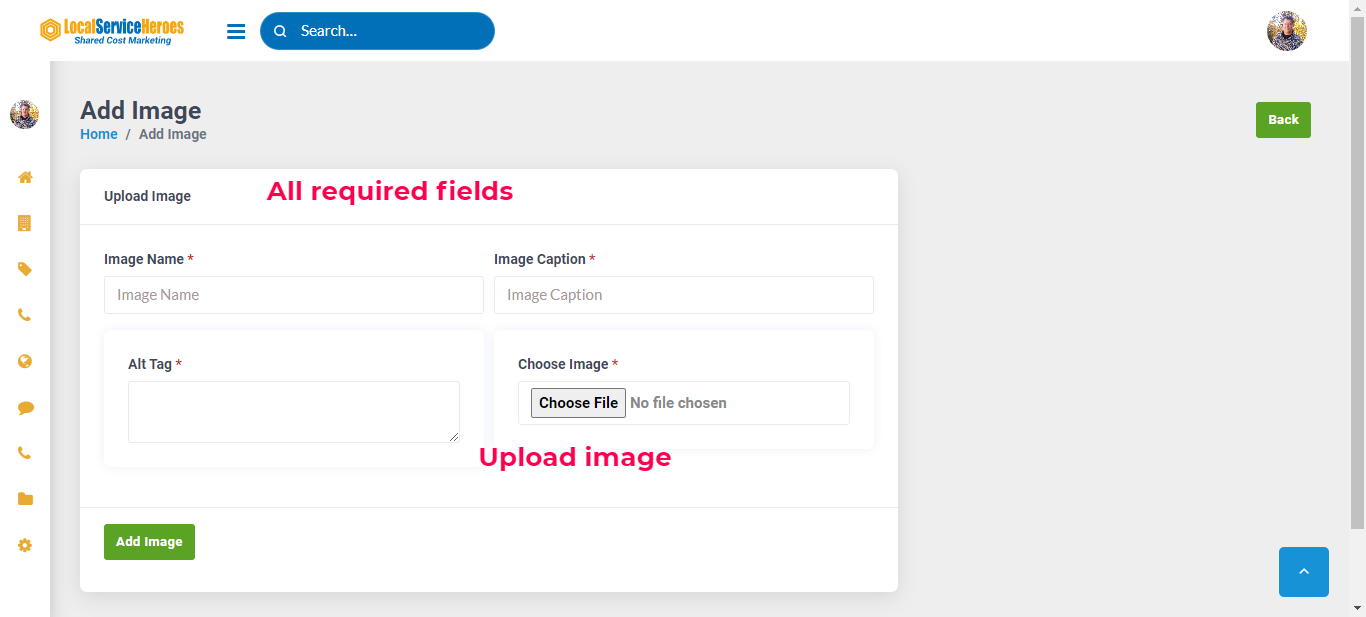
- The Image Name, Image Caption and the Image Alt Tag are all required fields. Fill those out first, select the image from your computer, then click "Add Image." It will then appear in your Image Gallery.


To Go Back To Platform User Guide, CLICK HERE